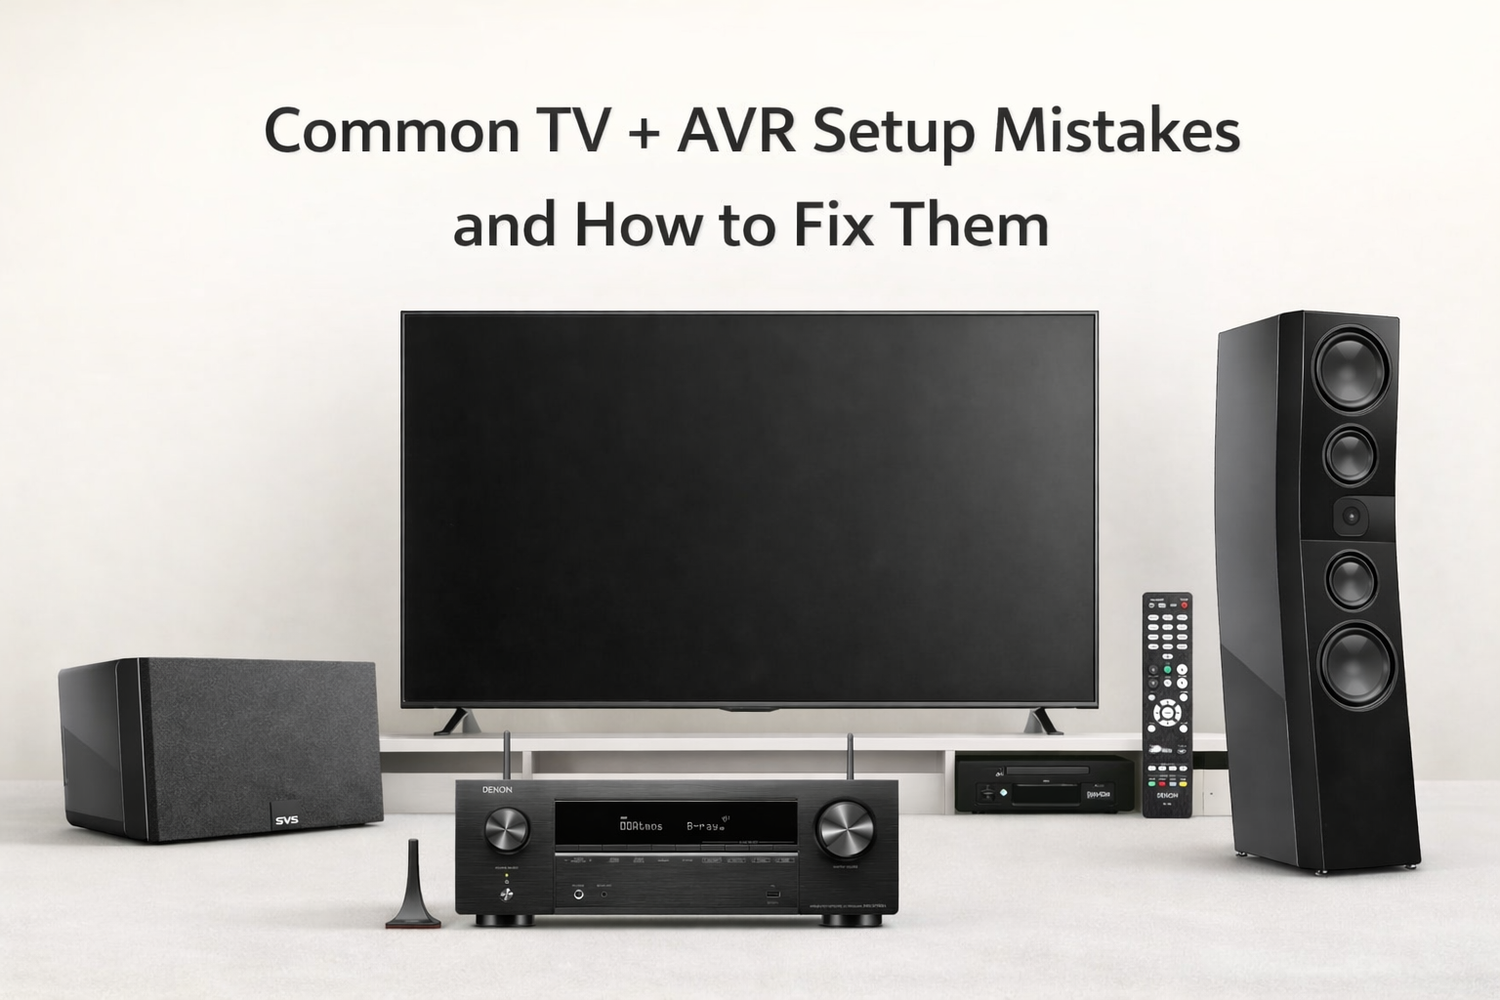
Connecting a television to an Audio Video Receiver (AVR) ought to be a simple task; however, numerous property owners and novices encounter vexing difficulties such as silence from the speakers, audio delay, or subpar quality in their surround sound experience. Primarily, such operational failures originate from basic oversights during the TV and Audio/Video Receiver (AVR) setup phase; these mistakes are entirely avoidable once one becomes aware of the typical stumbling blocks. This guide aims to lay out the most typical issues observed with connecting TVs and AVRs, offer in-depth explanations of why these occur, and present practical fixes, allowing you to achieve the desired audio output from your entertainment center setup without further aggravation.
Understanding How a TV + AVR Setup Works

Before fixing mistakes, it's important to understand the basic flow of a TV and AVR connection.
An AVR is the brain of your home theater. It receives video and audio signals from your devices, such as a streaming box, gaming console, or Blu-ray player, which processes the audio and sends it to your speakers, and passes the video to your TV.
Currently, the standard setup of your TV would be with features either HDMI ARC or eARC (Audio Return Channel). This vital capability empowers your television to transmit sound information back to the Audio/Video Receiver (AVR) utilizing merely one HDMI connection. In short, basically, sources such as your streaming apps or cable box plug into the television, and then the TV passes that processed audio signal along to the AVR so it can be played through your speakers.
Another method is connecting all devices directly to the AVR, then sending just the video to the TV. This often gives better audio quality but uses more HDMI cables.
Understanding this flow helps you identify where things go wrong in your setup.
Why TV + AVR Setup Mistakes Are So Common?

TV AVR setup mistakes happen because manufacturers don't always make things simple.
Many companies make use of different terminology for their HDMI ports. For example, one particular TV might classify its port supporting the Audio Return Channel (ARC) feature as "HDMI 2," while another model could assign that function to "HDMI 1." Due to this user getting poor results as well as failing to notice this minor variation, which frequently results in many users plugging their cables into the wrong sockets.
TV audio settings can be confusing too. Options like PCM, Bitstream, Auto, Dolby Digital, and Passthrough don't mean much to beginners. Choosing the wrong one blocks surround sound formats from reaching your AVR.
The quality of your cables is frequently underestimated. A typical HDMI cable that works for regular high-definition watching might not handle advanced audio types such as Dolby Atmos or carry the complete range of 4K HDR video with eARC audio. Frequently, people unknowingly hinder performance by employing outdated cabling.
Finally, these AV Receivers present a considerably large array of adjustable parameters. Incorrectly configuring matters such as which source connects to which input, how speakers are arranged, and the specifics of audio signal treatment during the first installation phase can readily occur, resulting in either a complete lack of audio output or severely degraded operational quality.
These small details add up and cause the majority of common TV AVR setup mistakes.
Most Common TV + AVR Setup Mistakes (And Their Fixes)

Using the Wrong HDMI Port (ARC vs eARC)
This is the number one reason people get no sound from their AVR.
Most modern TVs have multiple HDMI ports, but only one supports ARC or eARC. If you connect your AVR to a regular HDMI port, the TV won't send audio back to the receiver.
To locate the appropriate connection, observe the back panel of your display unit or refer to the documentation provided with it. The input receptacle intended for ARC capabilities will commonly bear labels such as "HDMI ARC" or "HDMI eARC." While this port is often the first or second in the series of HDMI sockets, the exact labeling assigned to it is contingent upon the specific television brand.
Connect your AVR's HDMI OUT (ARC) port to the TV's HDMI ARC port using a proper HDMI cable. Then enable HDMI-CEC and ARC in both the TV and AVR settings.
If you have a newer AVR with eARC and want to play Dolby Atmos from Netflix or Disney+, make sure your TV also supports eARC. Older ARC connections may downgrade audio to basic Dolby Digital instead of lossless formats.
Incorrect HDMI Cable Selection
Not all HDMI cables are the same, and using the wrong one causes audio problems.
For ARC setups, a standard HDMI cable works for basic 5.1 surround sound. But for eARC with Dolby Atmos or DTS:X, you need a certified High-Speed HDMI cable (HDMI 2.0 or higher) or Ultra High-Speed HDMI cable (HDMI 2.1).
Cheap or very old cables may not have enough bandwidth to carry high-quality audio formats. This results in your AVR showing PCM instead of Dolby Atmos, or no sound at all.
If you're experiencing audio dropouts or format issues, replace your HDMI cable with a certified one. Look for quality HDMI cables labeled "High-Speed with Ethernet" or "Ultra High-Speed."
For most living room or apartment setups, a good quality 6-foot HDMI 2.1 cable solves most connection problems without spending much.
Connecting Devices in the Wrong Order
Many people connect their streaming box or gaming console directly to the TV, then expect the AVR to handle surround sound. This can work with ARC, but often leads to audio quality loss.
For the best sound, connect all your devices (Fire TV Stick, PlayStation, Xbox, Blu-ray player) directly to the AVR's HDMI inputs. Then connect the AVR's HDMI OUT to the TV.
This way, the AVR receives the full audio signal without compression or downgrading. Your TV only handles the video, and you get true Dolby Atmos or DTS:X when available.
If you prefer using your TV's apps, ARC or eARC is necessary. Just make sure your TV audio output is set correctly (covered in the next section).
Device connection order matters more than most beginners realize, especially for home theater setups with multiple sources.
TV Audio Output Set to the Wrong Format
Even with correct HDMI connections, wrong TV audio settings block surround sound.
Many televisions feature audio output settings such as PCM, Bitstream, Auto, Dolby Digital, or Passthrough. PCM transforms everything into basic stereo or 2.0 sound. This means your AVR won't receive Dolby Atmos or DTS signals.
Go into your TV's sound settings and set the audio output to "Bitstream," "Auto," or "Passthrough" (wording depends on the brand). This tells the TV to send the original audio format to the AVR without converting it.
Some TVs also have a separate eARC audio format option. Set this to "Auto" so the TV can pass through Dolby Atmos and other advanced formats.
After changing this, check your AVR's display. It should now show "Dolby Digital," "Dolby Atmos," or "DTS" instead of just "PCM."
This simple setting fixes most AVR not getting sound from TV issues.
AVR Audio Input Not Assigned Properly
Your AVR needs to know which HDMI input you're using for each device.
If you connect your gaming console to "HDMI 3" on the AVR but the receiver thinks it's "HDMI 1," you'll get no sound or video. Many AVRs don't auto-detect inputs correctly, especially older models.
Go into your AVR's input assignment menu. Pair each physical HDMI Interface with its corresponding input interface. As a demonstration, your Fire TV to be connected to "HDMI 2," to ensure the audio/video receiver's input is labeled "Media Player" or "Streaming" and is configured to select "HDMI 2."
Some AVRs also have separate digital audio inputs (optical, coaxial). If you're using optical from your TV to the AVR, assign that input properly in the settings.
This TV and AVR connection problem is easy to overlook but causes confusion when switching between devices.
Speaker Wires Connected Incorrectly
Incorrect speaker wiring is a common home theater mistake that affects sound quality.
Every speaker wire has two pairs of connection points: one as positive (typically red) and the other as negative (usually black).In the case you flip these polarities on even a single speaker, the resulting audio will sound weak, and spoken dialogue will become unclear. This is called being "out of phase."
Always connect red to red and black to black on both the AVR and speaker ends. Use a flashlight if needed to see the terminals clearly, especially behind furniture.
Also, make sure the bare wire or banana plugs are fully inserted. Loose connections cause crackling sounds or intermittent audio.
For apartment or small room setups, even a basic 5.1 system with bookshelf speakers sounds much better when wired correctly. Take a few extra minutes to double-check every connection.
Wrong Speaker Size & Crossover Settings
Your AVR needs to know what size speakers you have.
During setup, you'll see options like "Large" or "Small" for each speaker. This doesn't mean physical size-it refers to how low the speaker can reproduce bass frequencies.
Most bookshelf and satellite speakers should be set to "Small." This tells the AVR to send low bass (below 80Hz) to your subwoofer instead. If set to "Large," your small speakers try to play deep bass and sound distorted.
Only large tower speakers that can handle deep bass should be set to "Large," and even then, setting them to "Small" often sounds better with a subwoofer.
Also, set your crossover frequency. For most home setups, 80Hz works well. This means frequencies below 80Hz go to the subwoofer, and everything above goes to your main speakers.
Correct speaker configuration is part of any good AVR setup guide and makes a noticeable difference.
Ignoring Room Calibration (Audyssey / YPAO / Dirac)
Modern AVRs include automatic room calibration systems like Audyssey (Denon/Marantz), YPAO (Yamaha), or Dirac (higher-end models). Skipping this step is a big AVR setup mistake.
These systems use a microphone to measure your room's acoustics and adjust speaker levels, distances, and EQ settings. Without calibration, some speakers might be too loud, others too quiet, and the surround effect won't work properly.
Position the calibration microphone at your primary listening spot (typically the middle of your sofa). Run the setup process. It takes 5-10 minutes but dramatically improves sound quality.
Run the setup process. It takes 5-10 minutes but dramatically improves sound quality.
In small apartments or rooms with hard floors and walls, calibration helps reduce echo and balance the sound for a better experience.
This step is especially important for Dolby Atmos setups with ceiling speakers, where precise speaker placement and level matching matter even more.
Audio Delay / Lip-Sync Issues
If the audio comes before or after the video, you have a lip-sync problem.
This happens because video processing takes longer than audio processing. Your TV might delay the picture by 40-60 milliseconds while the AVR plays sound instantly.
Most AVRs have an "Audio Delay" or "Lip-Sync" setting. Increase the delay in small increments (start with 50ms) until the audio matches the video.
Some TVs also have a "Game Mode" or "Instant" picture mode that reduces video processing delay. Enable this if you're experiencing sync issues.
For streaming devices like Apple TV or Fire TV Stick connected to the AVR, lip-sync is usually automatic. But for TV apps using ARC, manual adjustment is often needed.
Audio delay issues are frustrating but easy to fix once you locate the right setting.
Not Enabling HDMI-CEC or Control Features Properly
HDMI-CEC lets your TV remote control your AVR (power on/off, volume). Without it, you need two remotes.
Brands use different names: Samsung calls it Anynet+, LG calls it SimpLink, and Sony calls it Bravia Sync. On your AVR, it's usually just "HDMI Control" or "CEC."
Enable this feature in both your TV and AVR settings. Once active, turning on your TV should automatically power on the AVR and switch to the correct input.
Some users disable CEC because it causes random power-offs or input switching. If this happens, try enabling CEC only on the TV and AVR, and disable it on other devices like gaming consoles or streaming boxes.
CEC isn't required for sound, but it makes daily use much more convenient, especially in small apartments where you're using the system often.
Using TV Speakers Along With AVR Speakers
Your TV speakers should be turned off when using an AVR.
Some people accidentally leave TV speakers on, thinking it adds more sound. Instead, it creates an echo and confusing audio because the TV speakers and AVR speakers play at slightly different times.
Go into your TV's sound settings and set the audio output to "External Speaker," "Audio System," or "Receiver." This disables the internal TV speakers completely.
You should only hear sound from your connected speakers, not from the TV itself.
This is a basic but common mistake that ruins the home theater experience.
Outdated TV or AVR Firmware
Old firmware causes random issues like audio dropouts, HDMI handshake failures, or formats not being recognized.
Initiate a check for the latest software on both your television set and your Audio/Video Receiver. Typically, update verification can be found within the settings configuration of most devices. Ensure both units are linked to your wireless network and proceed with installing any found revisions.
Firmware updates often fix bugs related to eARC support, Dolby Atmos passthrough, and HDMI compatibility with newer devices.
This is especially important if you recently bought a new TV or AVR and are connecting them for the first time. Manufacturers release updates frequently in the first year.
Keeping firmware current prevents many common TV AVR setup issues.
TV + AVR Setup Tips for Rooms & Apartments

For small apartments, focus on compact 5.1 or 3.1 speaker setups. Wall-mounted satellites and a slim subwoofer save floor space without sacrificing sound quality.
In larger living rooms or villas, a 7.1 or 5.1.2 Atmos setup works better. Use the AVR's room calibration to adjust for high ceilings or open layouts.
If your apartment has neighbors, enable your AVR's "Night Mode" or "Dynamic Range Compression." This reduces loud explosions while keeping dialogue clear, so you don't disturb anyone.
For rooms with lots of glass or tile, add soft furnishings like rugs, curtains, or acoustic panels. This reduces echo and improves overall sound clarity.
Look very carefully at the location you assign to your subwoofer. While stuffing it in a room's corner that will boost the bass frequencies, but it risks producing an indistinct, boomy sound. Try an experiment instead with setting it up along one of the walls, close to where you usually sit, to achieve a more balanced distribution of low-range sound throughout the space.
These small adjustments make a big difference in how your TV and AVR setup performs in real-world spaces.
Quick Checklist to Avoid TV + AVR Setup Mistakes

Use this checklist before troubleshooting:
-
HDMI cable connected to the TV's ARC or eARC port
-
AVR's HDMI OUT port connected to the correct TV port
-
HDMI cable is High-Speed or Ultra High-Speed (for eARC and Atmos)
-
TV audio output set to Bitstream, Auto, or Passthrough (not PCM)
-
AVR input correctly assigned to the device you're using
-
All speaker wires are connected with correct polarity (red to red, black to black)
-
Speaker size set to "Small" for bookshelf/satellite speakers
-
Crossover frequency set to 80Hz
-
Room calibration completed (Audyssey, YPAO, Dirac)
-
Audio delay adjusted if lip-sync issues exist
-
HDMI-CEC enabled on TV and AVR
-
TV speakers turned off in TV settings
-
Firmware updated on both TV and AVR
Run through this list anytime you add a new device or change your setup.
Final Thoughts
Most TV AVR setup mistakes are simple to fix once you know where to look. Wrong HDMI ports, incorrect audio settings, and skipped calibration cause the majority of problems.
Take time to connect everything properly, adjust your TV and AVR settings, and run room calibration. These steps turn a frustrating experience into a smooth, reliable home theater system.
If you're still facing issues after following this guide, check your device manuals or consider reaching out to the manufacturer's support. Sometimes a specific model has quirks that need brand-specific solutions.
With the right setup, your TV and AVR will deliver clear dialogue, powerful surround sound, and an overall better entertainment experience in your living room or apartment. For those looking to build a complete system, explore quality home theater components and speaker packages designed for Indian homes.
FAQs
Q1.Why is there no sound from my AVR when connected to a TV?
Ans: Check if the HDMI cable is connected to the TV's ARC port, enable ARC in both TV and AVR settings, and set the TV audio output to Bitstream or Passthrough instead of PCM.
Q2. Should I connect my devices to the TV or directly to the AVR?
Ans: For best audio quality, connect devices directly to the AVR, then send video to the TV. If using TV apps, ensure ARC or eARC is set up correctly.
Q3.Why is Dolby Atmos not working on my TV + AVR setup?
Ans: Your TV must support eARC, use a High-Speed HDMI cable, and the TV audio output should be set to Bitstream or Auto—not PCM.
Q4.What is the correct HDMI ARC or eARC setup for TV and AVR?
Ans: Connect the AVR's HDMI OUT (ARC) port to the TV's HDMI ARC or eARC port, enable HDMI-CEC and ARC on both devices, and set TV audio to Bitstream.
Q5.Why is there a delay between audio and video on my TV + AVR?
Ans: Video processing on the TV causes lag. Increase the AVR's Audio Delay setting (start at 50ms) or enable the TV's Game Mode to reduce processing delay.
Q6.Can a wrong HDMI cable cause TV + AVR sound issues?
Ans: Yes. Old or basic HDMI cables may not support eARC or high-bandwidth audio formats like Dolby Atmos, causing dropouts or downgraded sound to PCM.
Q7.Why does my AVR show PCM instead of Dolby Digital or DTS?
Ans: The TV audio output is likely set to PCM. Change it to Bitstream, Auto, or Passthrough in the TV's sound settings to send surround formats to the AVR.
Q8.Is optical cable better than HDMI for TV + AVR connection?
Ans: No. Optical cables cannot carry Dolby Atmos or lossless audio. HDMI ARC or eARC is better for modern formats and higher-quality sound.
Leave a comment
All comments are moderated before being published.
This site is protected by hCaptcha and the hCaptcha Privacy Policy and Terms of Service apply.